How-To Change Out A Hollow-Body Frog Hook
Frog bodies tend to wear in like a good baseball glove or your favorite pair of boots. There’s no sense in throwing away a well broken-in frog just because the hooks are no longer brandishing their out-of-the-box sharpness.
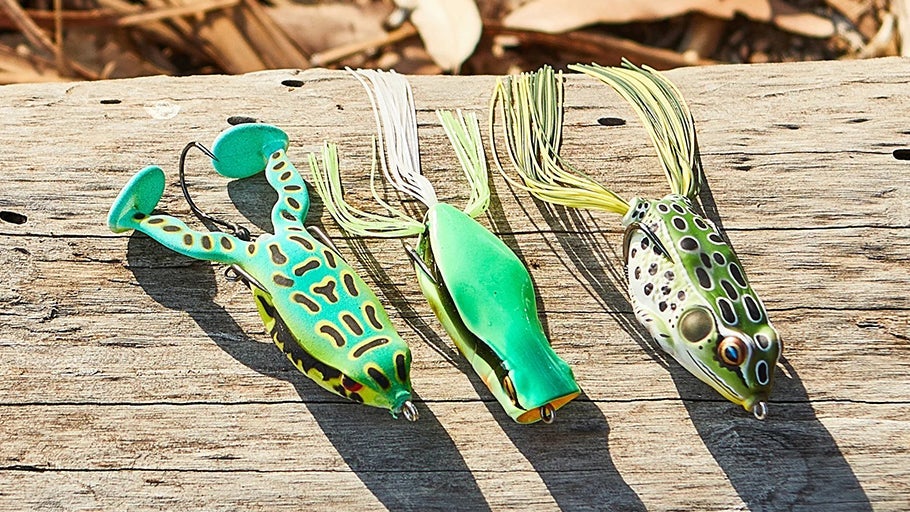
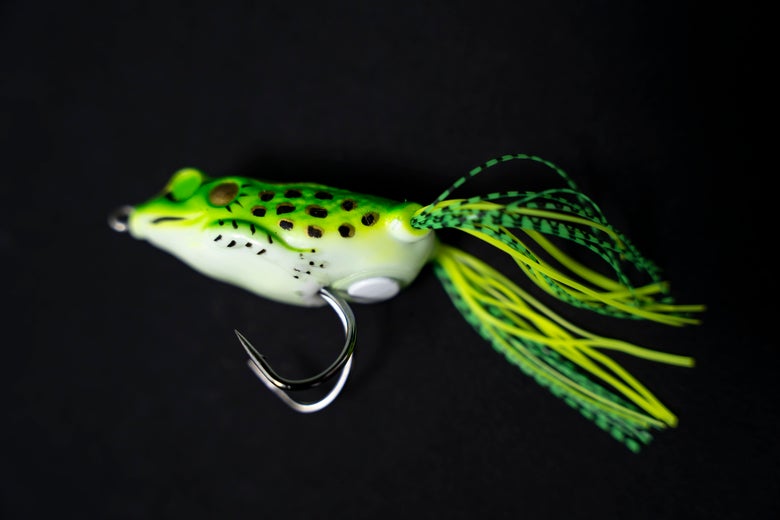
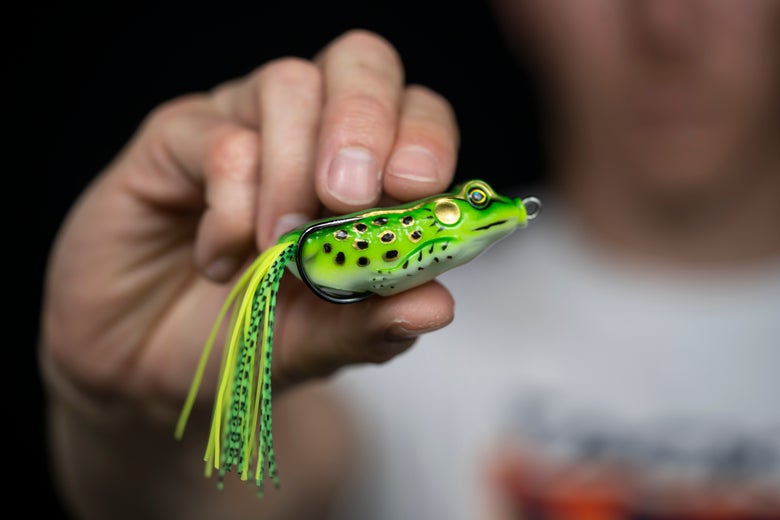
This article provides a simple breakdown detailing how to swap out a frog hook on your favorite hollow body frog. There is a vast array of frogs available to anglers on the market today, from standard hollow body frogs with silicone skirted legs, to poppin’ frogs with cupped mouths, frogs with hyper-realistic legs, frogs with willow blades, and everything in between. Though there are countless options to choose from and chase bass with, they all have one thing in common – frog hooks. Let’s learn how to swap ‘em out!
What's Needed
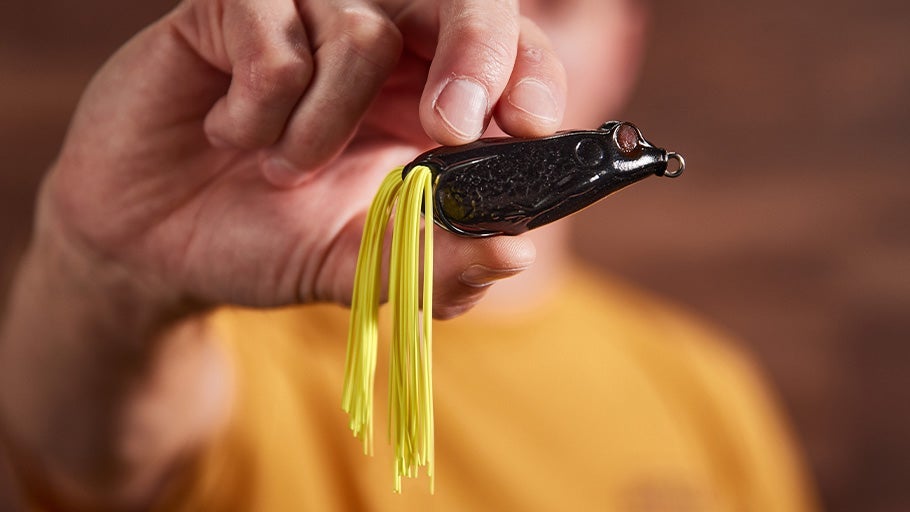
-Hollow-Body Frog
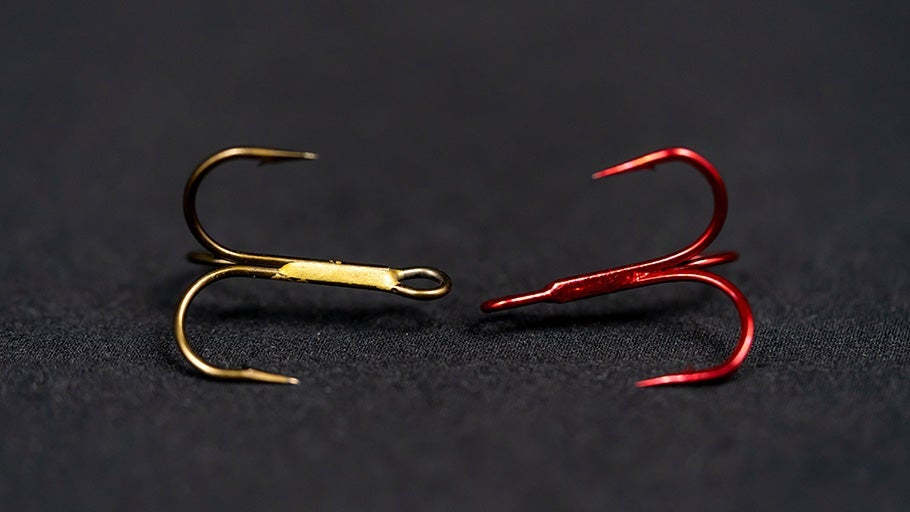
-Double Frog Hook
-Braided Line
-Pliers
Step 1: Rotate Body
First, tie a 2- to 3-foot length of braid to the line tie of your frog. While this isn’t necessary for every frog, it is critical for frogs whose harness hardware separates from the frog as this can allow you to inadvertently pull the entire nose assembly through, and out of the frog, which can be challenging to put back in place. If you know your frog boasts a robust, sealed nose that will hold the line tie firmly in place, you can disregard this preparatory step. Next, you’re going to take the body of the frog and roll it outside of the hooks. This will expose the hooks on the belly side of the frog, giving you easier access and more leverage to pull the hook and hardware through the body.
Step 2: Expose Hook Harness
Next, simply pull on the hooks, sliding the shanks out through the belly hole to access the hook harness. These frogs are designed to be quite durable, so there’s no need to worry about damaging or tearing the body of the frog in this step as long as you exercise just the minimum amount of caution. Continue to pull the hook until the line-tie/hook harness assembly is exposed or separated from the frog.
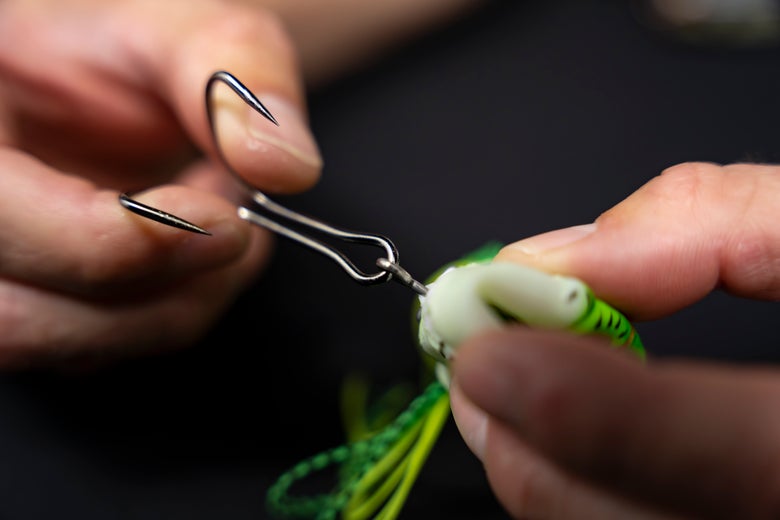
Step 3: Remove Old Hook
Now that the hardware is exposed, it will provide the access needed to thread the hook off. Guide the hook off by passing the harness ring down and between the two hook shanks until it’s removed from the frog. With your old hook off and out of the way, you’re ready to replace it with your brand new, sticky-sharp frog hook.
If you find yourself dealing with particularly stubborn, tight-gapped frog hooks, or a robust hook harness ring, you may need to employ a pair of trusted pliers to help you spread the hook shafts apart and slide the ring into the correct position.
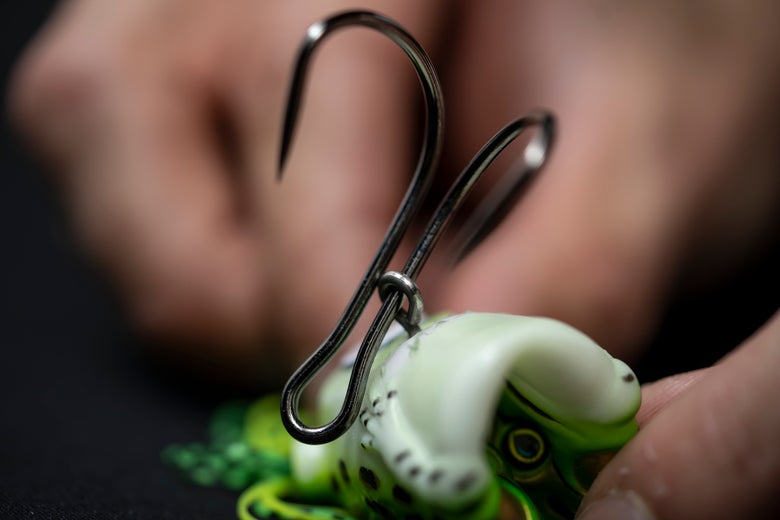
Step 4: Thread New Hook
We’re going to reverse the procedure in Step 3 and thread on the new hook, once again passing the hook attachment hardware between the divided shanks until the hook is seated properly in the harness assembly.
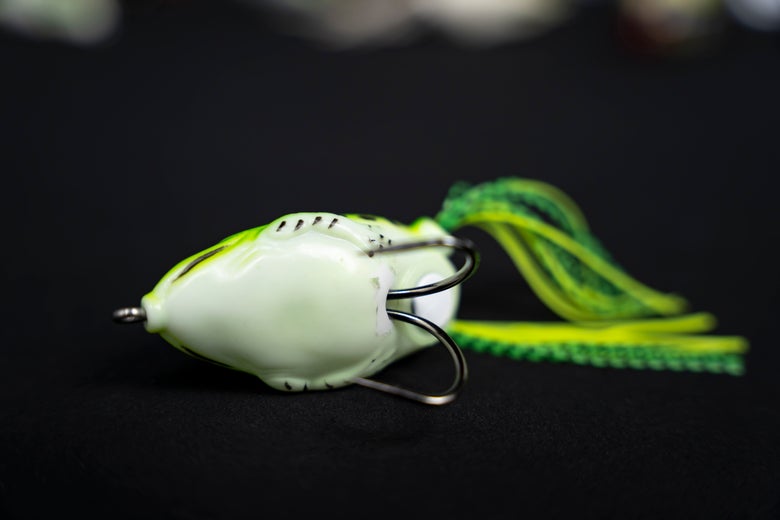
Step 5: Reset Hardware/Hook
To complete the process, simply press the hardware and hook back up into the body and rotate the body back to its standard configuration, taking care to not poke the frog’s soft plastic too aggressively to avoid damaging the body of the frog. If your harness system was removed from the body cavity in Step 2, pull on the braided tag line and carefully guide the hardware and hook into place. Continue to pull until just the line tie protrudes from the nose. Take care not to tug too aggressively, as this can pull the entire system through the nose hole, potentially damaging it. Now you have fresh frog hooks in place, and your frog is ready for the water.


Whether you are upgrading a lesser quality stock hook to your preferred premium frog hook, or just replacing a worn, rounded, or broken hook, the procedure is quick, easy, and well worth it to keep your favorite amphibian in tiptop shape for another summer of heart-racing blow-ups and giant frog fish!
Shop Frog Fishing
Related Content Links