How-To Tie an FG Knot - The Full Breakdown
A good connection knot is crucial for anglers who utilize a braided main line and a fluorocarbon or monofilament leader. The FG Knot is often regarded as one of the thinnest, best casting, and strongest connections knots available, making it an ideal choice for a wide range of applications. Although the FG Knot is an intermediate to advanced skill level knot, after a few practice runs it becomes quite simple and can be tied relatively quickly.
Step 1 - FG Knot: Place Rod in Static Position
The key to tying the FG Knot successfully is to have tension on the braided main line before you start. One of the best ways to apply tension to the line without the help of a second person is to place your rod in a rod holder so that you can pull tension on the line with the rod in a static position.

Step 2 - FG Knot: Wrap Line Around Finger and Pull Tension
Once the rod is placed in a secure position, give yourself a few feet of braided line to work with and wrap the end of the line around your small finger 3-4 times. For a right-handed angler, wrapping the braided line around your finger on the right hand seems to work the best but use whatever feels the most comfortable for you.

Step 3 - FG Knot: Place Leader across Braided Main Line
Place your fluorocarbon or monofilament leader across the braided main line at a 90-degree angle roughly 3-4 inches above your pinky. Give yourself about 5-6 inches of leader material to work with.

Step 4 - FG Knot: Wrap Leader Material around Braided Main Line
Start wrapping leader material around your braided main line. Start the first wrap by wrapping the leader upwards, back towards the rod tip and go under the braided line. After the first wrap in the upwards direction, wrap the leader under the small section of braided line that is in between the knot and your small finger.


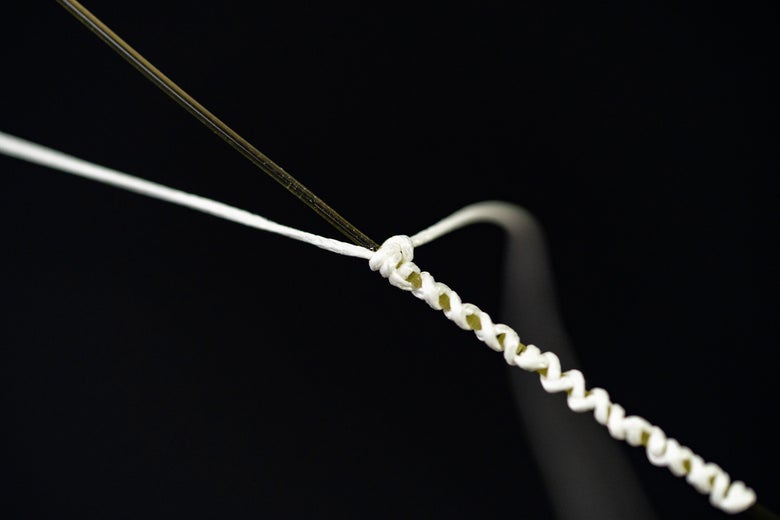
Step 5 - FG Knot: Wrap Line 20-30 Times
Repeat step 4 until you have 20-30 wraps of braided line around the leader. As a general rule of thumb for heavier line use less wraps for lighter lines use more wraps.


Step 6 - FG Knot: Lock with Two Half Hitches
Once the line wraps are complete, pinch the top of the knot to prevent the line from loosening. Now tie two half hitches around both the braided main line and leader material together to lock the knot.
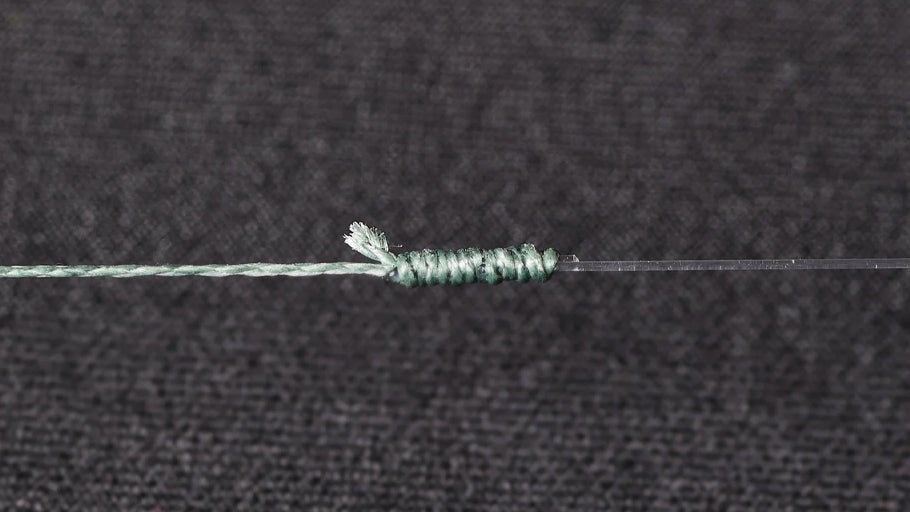
Step 7 - FG Knot: Tighten the Knot
Cinch the knot tight by pulling braided main line and the leader in opposite directions to ensure the knot locks into place and the braided line digs into the leader. When done properly the two lines cinch together and will sometimes change color. The braided line should be tight all the way to the last wrap. Make sure none of the braided line is loose around the leader material.
Warning
This is one of the most crucial steps of the FG Knot and where most failures occur. If you skip this step the leader will slip out of the braided line. With heavier lines it is often necessary to use knot pullers to avoid cutting your hands.

Step 8 - FG Knot: Cut the Leader Tag End
Cut the leader tag end off as close as you can to the braided line with a sharp pair of scissors.

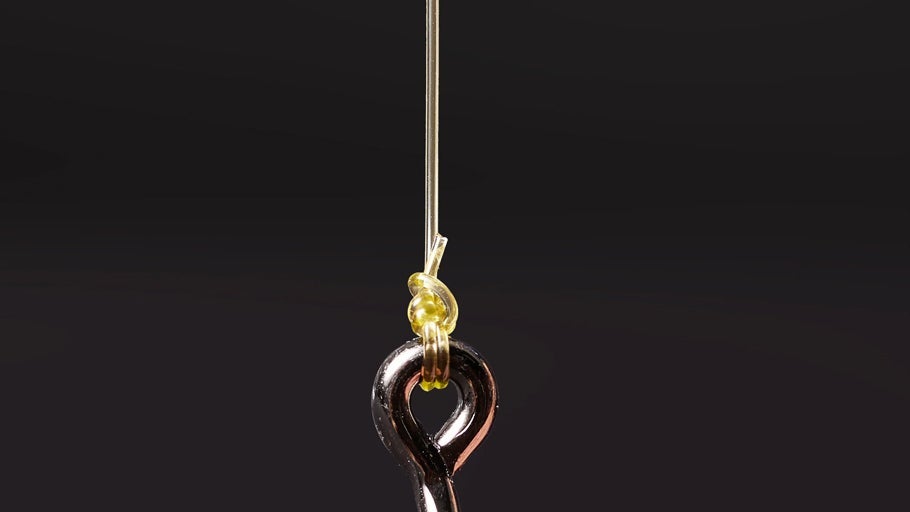
Step 9 - FG Knot: Tie 2-4 more Half Hitches
Tie 2-4 more half hitches around the braided main line with braided tag end. Some anglers also use a Uni knot for this step.

Step 10 - FG Knot: Trim Tag End
Trim the braided line tag end. Now the knot is complete.

Tip #1
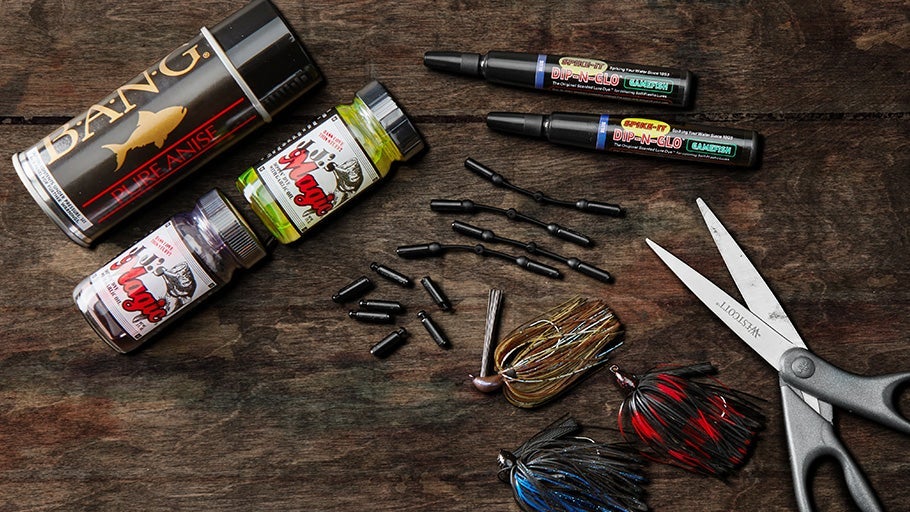
For add security a small dab of super glue can be applied to the last half hitch on the knot to ensure it doesn’t unravel during a long day of fishing.

Tip #2
When using heavier fishing lines anglers need to use knot pullers or line grippers to cinch the knot. Anglers can make a cost-effective set using two small sections of PVC pipe and two small sections of Accu Cull Grip Saver. This will prevent you from cutting your fingers with the braided line.
Warning
DO NOT wrap line over itself when using knot pullers because it can cut or damage your line and cause weak spots in the line.

Frequently Asked Questions:
Is the FG knot compatible with all line types?
Yes, the FG knot is compatible with all line types including braid, fluorocarbon, co-polymers, and monofliament, but may not work as well with extremely heavy or stiff leader material.
How many times should you cross-wrap the line?
Typically 20 passes weaving under and over are recommended. For light leader finesse applications with 4-10lb line, some suggest up to 30 wraps, while heavier leader lines may require fewer.
Do the tag ends need to be cut short?
Yes, cutting the tag ends very close to the knot helps it pass through rod guides smoothly without snagging.
How do I finish the FG knot?
Tie 2-4 half hitches around the main line with tag end. Some anglers also use a Uni knot for this step. For added security, add a small dab of super glue to the last half hitch to ensure it doesnt unravel.