How-To
How-To Tie a Palomar Knot
Great for anglers of all skill levels, the improved clinch knot is easy to tie and reliably strong. It is often the first knot that many anglers learn to use and is perfect for a wide range of different lines. No matter if you’re a beginning angler or a touring professional, the improved clinch knot is one that every angler needs to know!
Start by running the line through the hook eye using about 6"–10” of tag line to work with. As a right-handed angler, it seems easiest to hold the hook in your left hand and the line in your right hand.

Wrap the tag line around the main line, starting from the bottom moving upward 5–7 turns. Lighter lines require more wraps, while heavier lines require fewer.

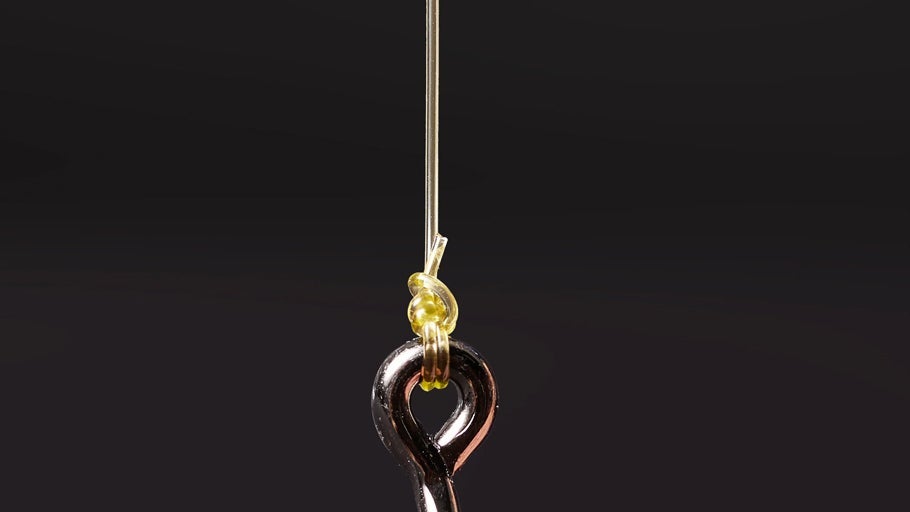
Run the tag end through the small loop above the hook eyelet to create a second larger loop in the line.

Run the tag end back through the large loop that was created in Step 3.

Slowly tighten the knot by pulling on the mainline and maintaining tension on the tag line. Wet the knot to ensure it doesn’t burn the line and compromise the strength of the knot.

Cut the tag line and you’re finished.


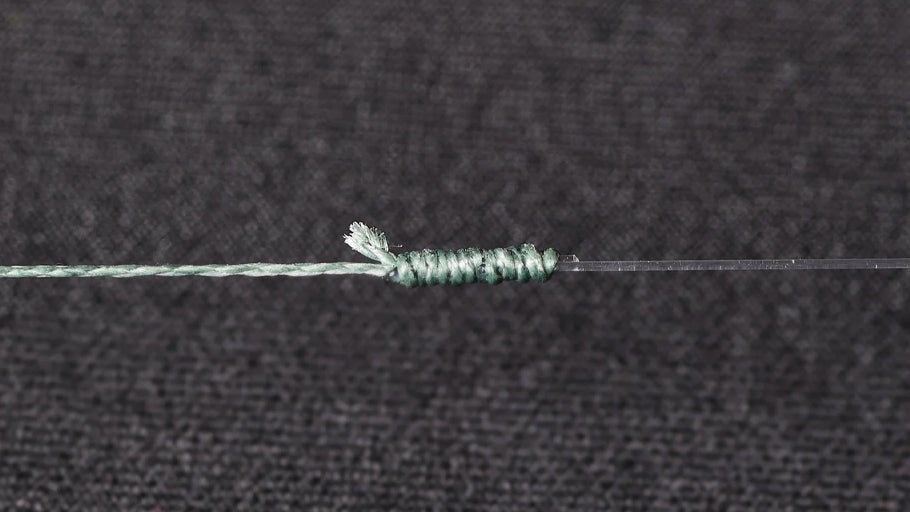
It has "improved" in the name because it improves on the standard clinch knot by adding the step of bringing the tag end back through the larger second loop.
While not the very strongest knot out there, it's one of the easiest to tie and retains about 86% to 95%+ breaking strength.
Wetting a knot helps the knot slide down and seat properly when being cinched. Additionally, it helps protect line from friction and burn while cinching down, which can cause a weak point.